A burr is not the same defect as casting flash, weld spatter, rust or scale, and each one changes the finishing method you need. By the end, you will know how vibration, media, water and compound work together, how to specify a safe edge without losing critical dimensions, and when another process is the better choice.
Key takeaways
- Use abrasive media to wear, fracture, or fold raised burrs without fixed cutting tools.
- Match media shape and size to the component’s geometry, material, and required edge.
- Specify edge radius, burr limit, surface finish, and inspection method before installation.
- Choose vibratory finishing for batch consistency, not for inaccessible passages or strict dimensional control.
How vibration and media remove a burr without a fixed cutting tool
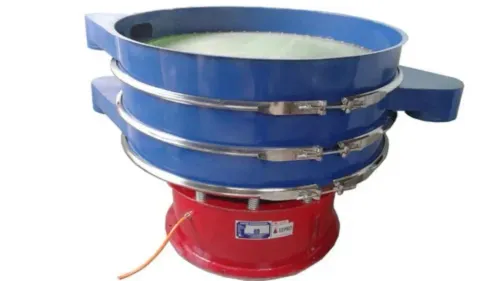
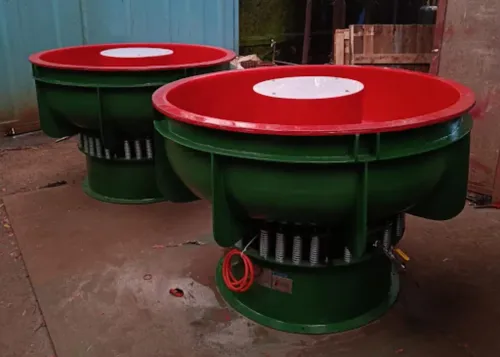
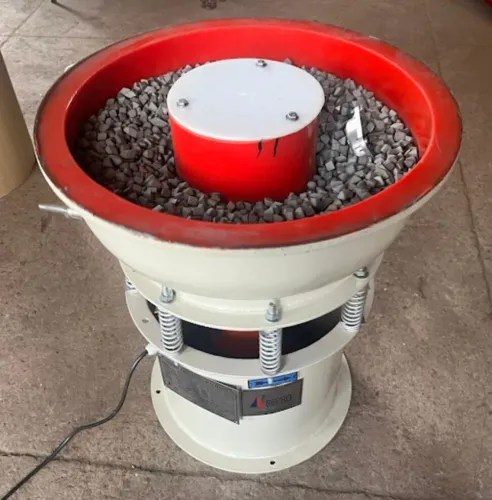
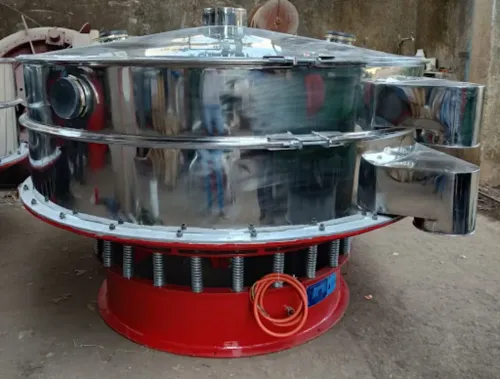
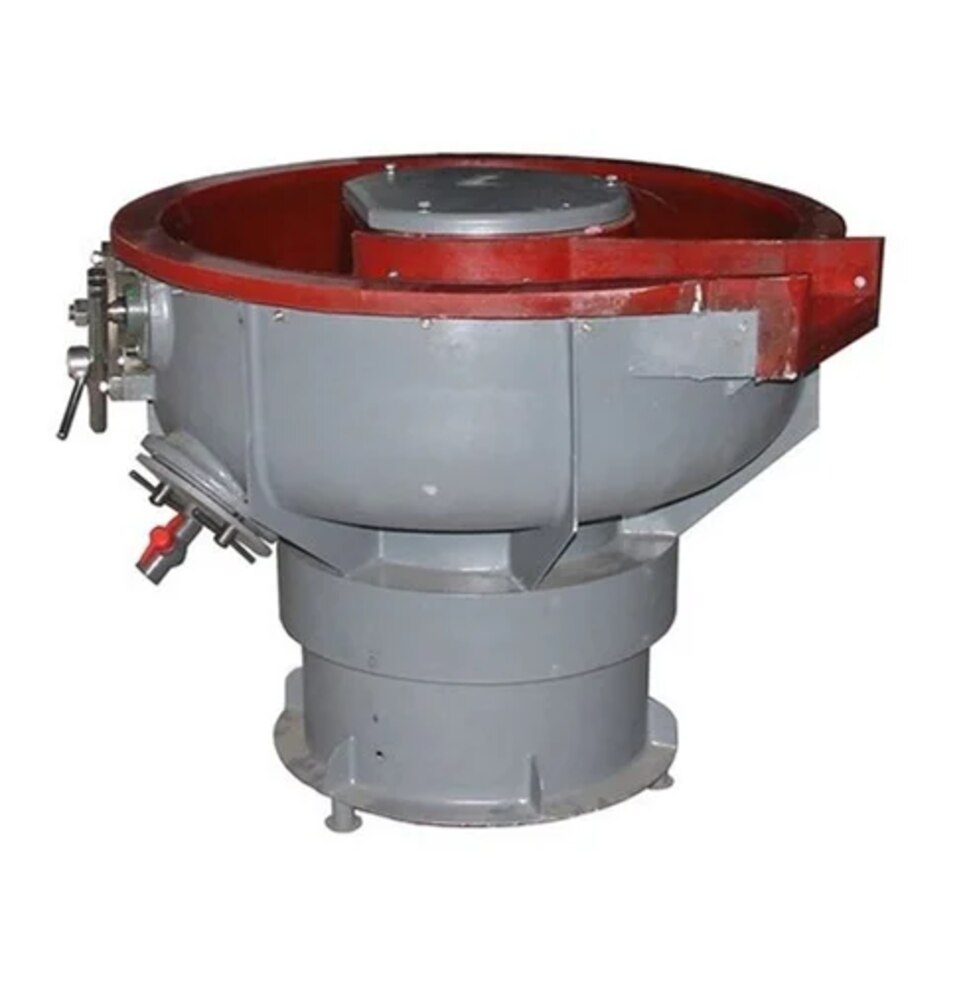
A burr is removed when repeated abrasive media and component contact wear, fracture, or fold the raised metal at an edge. Inside a vibratory deburring machine, a bowl or tub oscillates, making the media and parts move together in a dense, sliding mass.
No fixed cutting tool follows the burr; countless small contacts supply the cutting action.
The physical sequence is straightforward:
- Media strikes and rubs the protruding burr, weakening its narrow root.
- Continued motion breaks away the weakened material or wears it down until the edge meets the surrounding surface.
- Water and compound form a working slurry that reduces dry friction, carries away loosened particles, and keeps the media from loading with debris.
The cycle also changes the component’s surface because the media does not touch only the burr. It contacts exposed faces, corners, holes, and other reachable features, removing microscopic high spots as it moves. That action can smooth machining marks, clean residue, and create a small edge radius, while also changing surface roughness.
This is why burr removal and finishing need separate specifications. A long or aggressive cycle can improve smoothness but over-round a precision edge, scratch a visible face, alter dimensions, or lodge media in a recess. Deep blind holes and shielded internal passages may receive too little contact for reliable burr removal.
Test representative parts before setting production time and intensity.
What a complete vibratory deburring cycle looks like
Start with a validated load: fill the bowl or tub with the specified quantity of parts, leaving enough space for movement. Prevent nesting and interlocking; trapped faces stay untreated, while repeated contact at one point can create dents. Use separators or soft media for fragile components, and keep cosmetic parts from striking one another.
- Choose media that reaches the burr without lodging in holes, threads or recesses. Ceramic media suits many metal parts, but use smaller or less aggressive media around fine features and fragile projections.
- Add the measured media-to-part load. Too little media increases uncontrolled impacts; too much restricts movement and leaves surfaces untouched.
- Add water and compound at the specified concentration. The liquid lubricates contact, carries away loosened metal and controls staining, corrosion and foam. Excess compound can reduce cutting action or leave residue.
- Set amplitude, frequency and process time from trials using representative parts or test coupons. Longer time or higher intensity can round edges, alter dimensions, scratch surfaces and increase part-on-part damage.
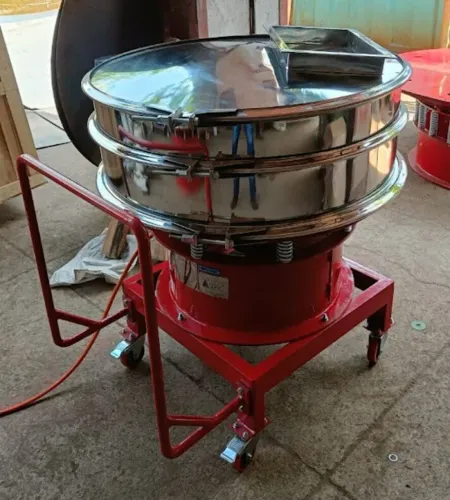
- At discharge, separate parts from media with a screen sized for the component. An opening that is too small retains product; one that is too large lets media travel with it.
- Rinse components to remove compound and fines, then dry them promptly. Inspect holes, threads, recesses and visible faces for lodged media, residue, dents and unwanted edge rounding before releasing the load.
How to match media and process conditions to the component
The safest choice starts with the smallest passage and the most delicate feature. Select media size and shape so it reaches the burr, passes through holes without lodging, and cannot wedge in threads or recesses.
| Feature | Media choice | Process condition |
|---|---|---|
| Through-holes and threads | Small cylindrical or rounded plastic media that clears the bore and thread pitch | Use a size that passes completely through; inspect for lodged pieces after separation |
| Recesses and corners | Small triangular or wedge-shaped ceramic media | Confirm that the media can enter and exit; blind cavities require an extraction check |
| Fragile projections | Rounded plastic media, not sharp ceramic shapes | Reduce amplitude, load impact and cycle time; separate parts to prevent part-on-part dents |
| Visible cosmetic surfaces | Fine, rounded plastic media with low cutting action | Use clean media, lower energy and a short validated cycle to limit scratches and edge rounding |
| Heavy burrs on robust parts | Angular ceramic media sized to contact the edge without entering critical openings | Increase intensity only after checking dimensions, threads and surface finish |
| Burnishing after deburring | Steel media | Use steel media for high-density impact and smoothing, not as the default abrasive for delicate edges |
Match the process to the component’s material hardness, wall thickness, edge radius, projection strength, hole diameter, thread pitch, recess depth, dimensional tolerance and required appearance. Test representative parts, including coated or polished surfaces. More aggressive media, energy or time can remove the burr faster while changing dimensions, peening surfaces or trapping media.
Separation must also match the part geometry so small components and media do not return together.
When vibratory finishing beats other deburring methods—and when it does not
Vibratory finishing wins when many small or medium parts need the same edge break and surface treatment with limited operator handling. It reaches exposed edges and recesses that a single hand tool cannot, but it is less selective and cannot reliably reach deep blind holes or shielded internal passages.
| Method | Access and marks | Throughput, consistency and labour |
|---|---|---|
| Vibratory finishing | Reaches contacted external edges and recesses; may dent delicate parts or alter unwanted faces | High batch throughput and repeatable results; low direct labour |
| Manual filing | Reaches a chosen edge, including awkward locations; leaves variable flats and scratches | Slow and operator-dependent; labour-intensive |
| Wire brushing | Handles accessible edges and light burrs; can smear metal or leave directional marks | Moderate speed; consistency depends on pressure and brush wear |
| Belt or wheel deburring | Fast on open edges and faces; creates selective marks, heat or dimensional change | High throughput; needs skilled, repetitive handling |
| Centrifugal disc finishing | Faster and more aggressive than a bowl; limited by part size and media access | High throughput and consistency; lower labour |
| Barrel tumbling | Gentle batch contact, but poor access to recesses and internal features; can cause part-on-part impacts | Economical for robust parts; less control |
| Blasting | Reaches exposed surfaces; may erode edges, embed media or create a matte finish | Fast, but dust control and operator exposure add work |
| Chemical deburring | Reaches chemically exposed burrs in passages; can attack base metal or coatings | Consistent after validation; requires chemical control and wastewater handling |
| Robotic finishing | Precise access and selective control; programming cannot fix poor tool access | Repeatable for large volumes; high setup and maintenance effort |
Choose another method when only one edge may change, the part is fragile, or the burr lies inside an inaccessible passage. Wet vibratory processing also produces wastewater containing compound, fines, oil and removed metal.
How to specify the finished edge and validate the installation
Write the acceptance requirement before choosing the bowl: set a maximum burr height, a minimum or maximum edge radius, allowable visual damage, and a surface roughness range such as Ra.
Specify deburring separately from finishing; a cycle that removes a stubborn burr can round a sealing land, alter a press fit, or roughen a cosmetic face.
1. Measure representative parts before and after trials. Check critical diameters, hole size, thread gauges, flatness, edge radius, and surface roughness. Record scratches, dents, media lodging, and changes in coating thickness or adhesion.
2. Run test coupons or production parts at planned media size, compound concentration, load, energy, and cycle time. Increase intensity only after confirming that fatigue-critical edges, thin sections, and coated surfaces retain their required performance.
3. Define media separation at unloading. Use a screen, rotary separator, or manual inspection suited to the part geometry, then rinse and dry the components. Inspect blind holes and threads for trapped media.
4. Document waste controls: collect spent media and sludge, identify the compound, and route wastewater through the site’s approved treatment process. Do not discharge abrasive solids or alkaline process water untreated.
5. Confirm the installation before production. Ask Separation Engineers (India) to verify working volume, part-to-media ratio, access for cleaning, isolation mounts, enclosure space, electrical protection, and noise controls; measure sound at the operator position and provide guarding and hearing protection where required.
Release the process only when dimensional, coating, fatigue, cleanliness, and workplace records meet the written limits.
Related products
Vibratory Finishing Machines The Vibratory Deburring Machine by Separation Engineers India is a high-performance solution designed for precision deburring, edge radiusing,... View product → |
Vibratory Finishing Machines Vibratory Deburring/Finishing Machine The Vibratory Deburring/Finishing Machine by Separation Engineers India is a high-performance surface finishing solution designed for precision... View product → |
Frequently asked questions
How does a vibratory deburring machine remove sharp edges?
An oscillating bowl or tub moves abrasive media and components together, creating repeated contact that wears, fractures, or folds burrs away.
What does a complete vibratory deburring cycle include?
A cycle includes loading, compound and media selection, vibration, separation, rinsing or drying, unloading, and inspection against the specified finish.
How do you choose vibratory media for a component?
Match media material, shape, size, and cutting action to the component’s material, geometry, burr size, and risk of lodging or impact damage.
When is vibratory finishing the wrong deburring method?
Use another method when parts need tight dimensional control, contain inaccessible passages, require selective edge treatment, or cannot tolerate media contact.
How should you specify and validate a vibratory deburring installation?
Define the allowable burr, edge radius, surface-finish target, cycle time, loading ratio, and inspection method, then confirm results with production-representative parts.
Related products
Vibratory Finishing Machines The Vibratory Finishing Machine by Separation Engineers India is a high-performance surface finishing solution designed for efficient deburring,... View product → |
 | Vibro Energy Separator Metal Surface Finishing Machine The Metal Surface Finishing Machine by Separation Engineers India is designed to deliver precision finishing and superior surface quality for... View product → |
 | Vibratory Finishing Machines The Tumbler Finishing Machine by Separation Engineers India is designed to provide precise and efficient surface finishing for components processed... View product → |